This tutorial is for BigShot / Big Kick users and uses the multipurpose platform to emboss metal stencil dies.
You will need:
Big Shot / Big Kick Machine
Multipurpose Platform
2 Cutting Pads
2 Silicone Mats
Metal Stencil
Card / Paper
The sandwich is as follows (from bottom to top - as you would build it)

Multipurpose platform open on TAB 1

Add one Cutting Mat
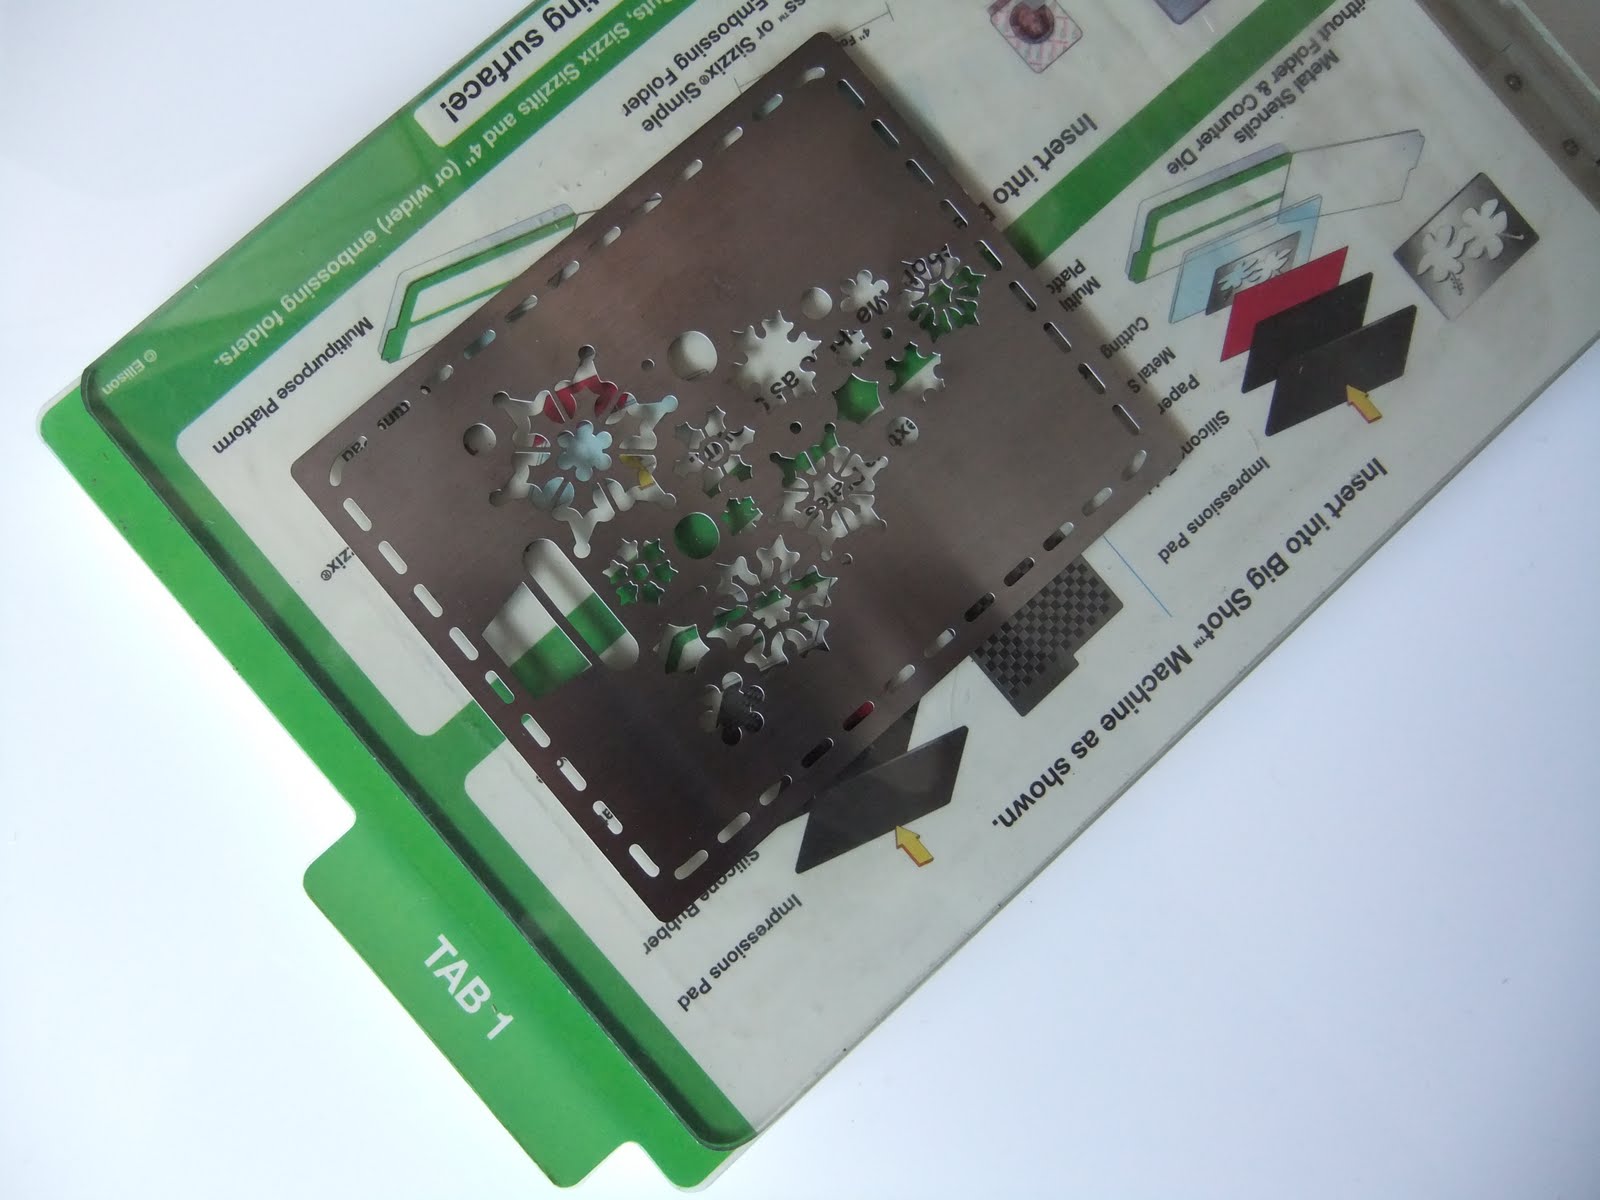
Add Stencil (see top tips down below)

Add your card, if using a patterned or finished card the side you want to use needs to be facing the stencil

Add 2 x Silicone Embossing Mats (see top tips for more info)

Add the other cutting mat

This is a pic of everything layered up as it should be, the pics above have been staggered so you can see what has been layered up.
Sandwich re-cap (starting from the bottom)
~ MP platform - TAB 1
~ Cutting Plate
~ Stencil
~ Card (front facing stencil)
~ 2x Silicone Embossing Mats
~ Cutting Plate
~ MP platform - TAB 1
~ Cutting Plate
~ Stencil
~ Card (front facing stencil)
~ 2x Silicone Embossing Mats
~ Cutting Plate
This is now ready to go through your machine
TOP TIPS!
Check that your stencil does not have a branding or manufacturers mark on it as this will emboss too, if it does make sure that in your sandwich as above, the writing side of the stencil is facing down, touching the cutting mat.

If you are embossing straight on to a card blank or die cut shape, if you cut your tan mat so it is slightly smaller than the outline of the stencil but large enough to cover the design this will mean you get an edge free image.
When embossing in my machines i use the spellbinders mats, mainly because i find where other tutorials say you need one, you get much better results using 2 as in my sandwich above, there are other brands and sizes out there, you can buy a 12x12 sheet also from spellbinders that you can cut down if you are using it with stencils a lot.

If you dont have any silicone mats, you could try sheets of funky foam, but this will wreck the foam and it will not last many passes through the machine!
my last tip is a very cheap one but gives FAB results (fab results that are so hard to photograph!!)
In the photo below i have 4 embossed images, from left to right
Bigshot embossed misted with water, Bigshot embossed, Cuttlebug embossed misted with water, Cuttlebug embossed
I am not sure if you can see in the picture but the 2 embossed images that were misted with water (both on larger scraps of card) give a much deeper impression.
I mist mine with a plant sprayer and just give it one quick squirt on the mist setting and then a quick shake then pop it through the machine as you would normally (i always mist the front of the card - the side that touches the stencil in the sandwich)It is a very cheap tip but very effective!!
If I get any questions about this tutorial i will add my responses to the bottom to try and help others who may have the same questions
Lisa x
7 comments:
thanks. sounds fine to me. think I need another mat now :)
Thaanks for the tutorial - you have unravelled the mystery of embossing using my Big Shot. I am now going shopping for silicone mats.
Stampersue
X
Thanks for the tutorial, never thought of misting mine. I'll definately give it a try. Jaqui x
thank you Lisa for the lovely detailed tutorial, so good.
Thanks, I have a big shot express and tried this with the funky foam till I get silicon mats, don't know if I'm missing something because mine didn't emboss. Is it different with this one because its just the one platform? Thanks karen
Karenmbrown30@hotmail.com
Wow, thanx so much. Had my big shot express for 2 years, only got out of box 2 weeks ago, been to scared to use for fear of breaking! Have lot of metal, plastic emboss stencils i used with light box, have wanted to see if could use thru my big shot, just followed your instructions and my metal stencil left perfect emboss on my card, ive been searching internet for ages to find out what i can emboss, i am well away now, all thanks to you sharing your knowledge. BIG THANKYOU, Kate
Thank you for this idea, I am so glad I don't have to get rid of my brass stencils now!
Post a Comment