This tutorial is for Cuttlebug users and uses the plates that should come with your machine to emboss all brands of embossing folders
You will need:
Cuttlebug Machine
A Plate
2x B Plate
Embossing Folder
Card / Paper
The sandwich is as follows (from bottom to top - as you would build it)
A Plate
Add B Plate
You then need to place you card or paper in your embossing folder, which way up you place your card in the folder depends on wether you will get an embossed or debossed image. The general rule is that if you have the logo of the folder facing up and the front of your card facing up then you will get an embossed image but there are a couple of exceptions to this, there is a cuttlebug winter words folder that only debosses!
pop your embossing folder with card inside onto the sandwich
Add the other B Plate - and make sure that all layers are in line with each other like in the pic below
Sandwich re-cap (starting from the bottom)
~ A Plate
~ B Plate
~ Embossing folder with your card inside it
~ B Plate
This is now ready to go through your machine
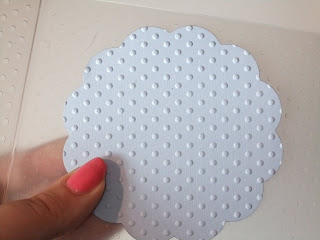
This is just a little snapshot of a finished embossed piece of card


